In this article, you will learning about managing and customizing the various system emails:
- Setting the Reply-To email address
- Customizing the header and footer
- Enabling and disabling individual emails
- Customizing the contents of an email
To get started, navigate to Settings -> Emails on the left sidebar menu.

Setting the Reply-To email address
If a customer or user receives a system generated email from your store and they reply to the email, this setting will determine where that reply email will go. By default, this will be set to the email address of the User with the role of Owner for the store. But it can be customized to any email address that you choose. After editing the Reply-To email address, remember to click the Save button at the top right of the screen.

Customizing the header and footer
All system emails for a store have a common header and footer that can be customized. To begin customizing the header and footer, click on the customize link in the Header and Footer section.

You will then see the customization settings in the left column and an example email in the right content area. As you make changes to the settings in the left column, you will immediately see the changes in the example email to the right.
If you want your header to start with your store logo, you can click + Add Logo to upload your logo. If you had previously uploaded a store logo from the General Settings page, you will see that logo here by default. You can always remove it or replace it with a different logo for your email header.

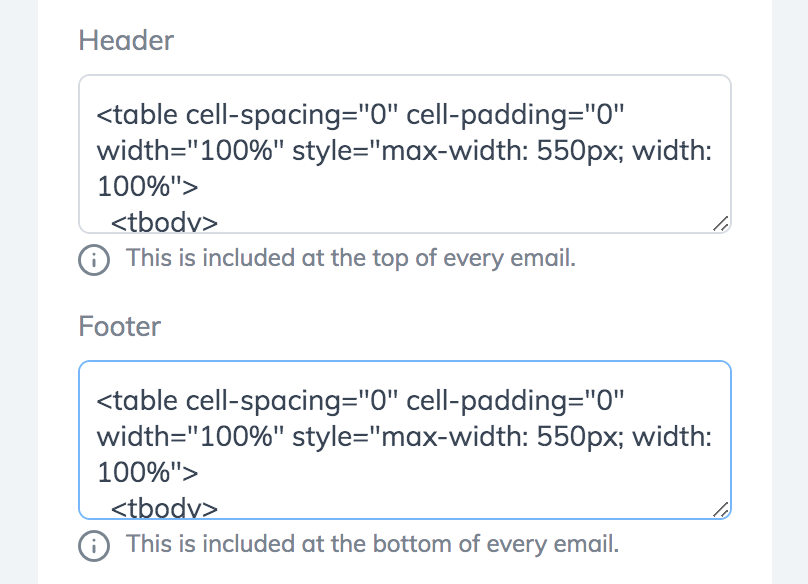
Below the logo section, you will see text boxes for both the Header and Footer that contain the default HTML. You can modify these as you see fit and view the results in the example email to the right. Note that text inside of curly brackets, such as {{ store_name }} are variables that are displaying default values from your store information.

You will also see that there are buttons to send a test email and also to restore the default values for the header and footer templates.

Enabling and disabling individual emails
All system emails will default to Enabled status, but most can be disabled if you prefer not to send that particular email or if you send that type of email through another system.
On the Email Settings page, you will see in the list of emails that the status of the email is shown in the right column. To edit the status of an email, click on the name link for that email to go into the detail page for that email.

You will see at the top of the left column that there is a switch to change the status of the email. Click the switch to change it to Disabled and that email will no longer be sent unless you change it back to Enabled.

Customize the contents of an email
To edit the contents of any email, just click on the name link for that email from the Email Settings page and that will take you to the email detail page. There you will see the customization options in the left column and an example email in the right content area. As you customize the email, you will see the changes immediately in the example email.

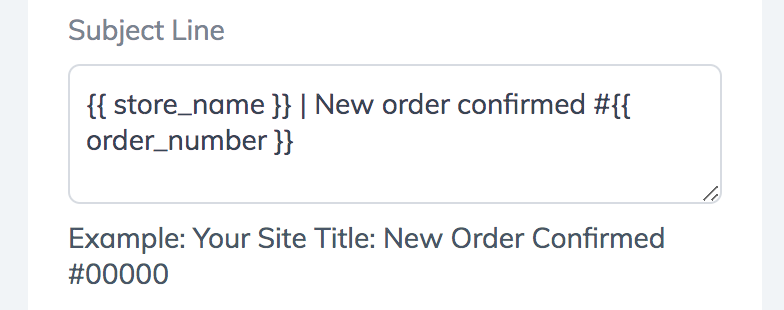
In the left column, you can edit the subject line of the email by changing the text in the Subject line field as shown below. Note that text in curly brackets are variables that display data from your store information or the specific order information.

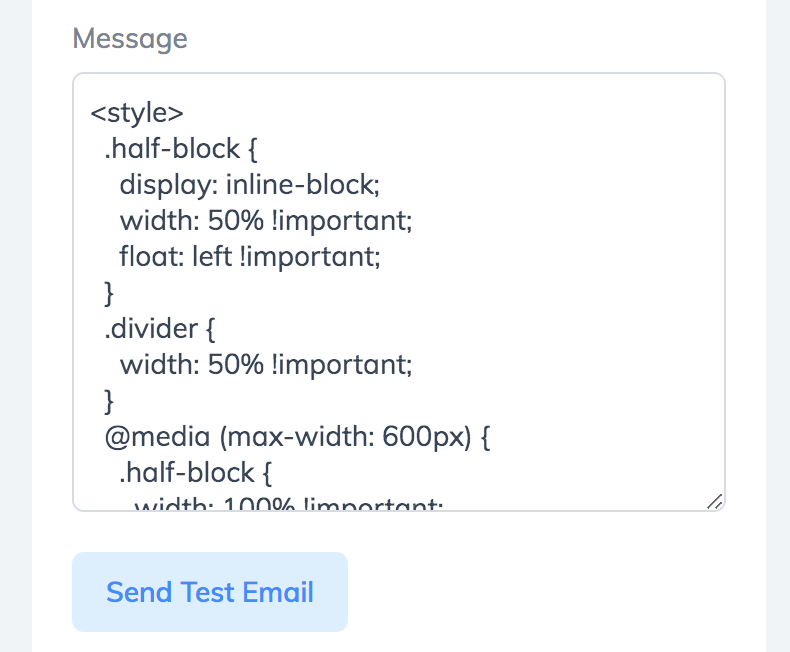
Below that you will see the text field that contains the HTML of the email body that you can modify as you see fit. As you make changes to the message content, you will immediately see those changes displayed in the example email to the right. You can also use the Send Test Email button to send yourself an example of this email so you can see what the actual email looks like.

That's everything that you need to know about Email Settings. In the next article, we will go over the Order return settings.